
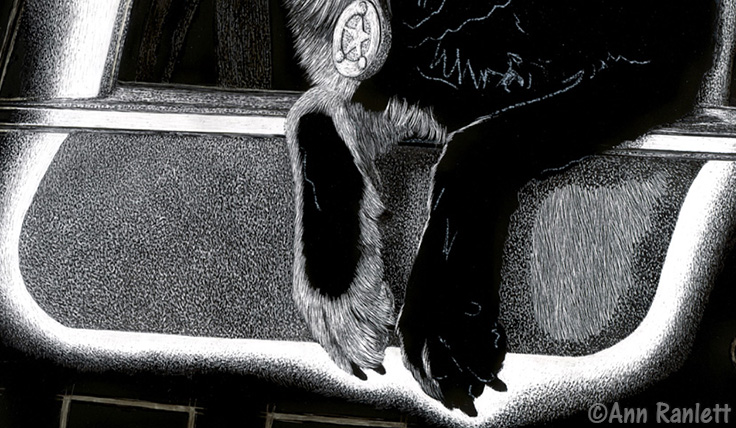
 Detail of Ronin 4
Here's a close-up of one section (from the "Ronin 4" photo), so you can see the different textures that go into it. On the right section, in the middle, is the first layer of scratching. Around that is a layer of stippling that goes on top of the scratching. I need to finish stippling that center area. On the left, I've done all the stippling and then knocked it back back with light scratching. Now that area needs a little more stippling to fill in gaps and then more scratching to blend it.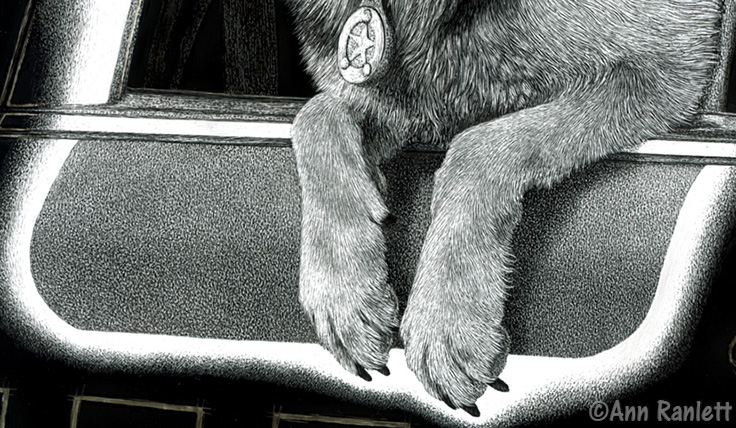 Detail of Ronin 7
Close up of Ronin's feet/legs & surrounding area from the "Ronin 7" stage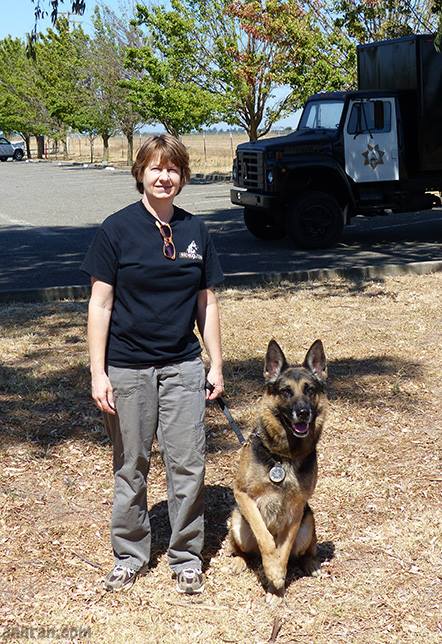 Ronin & Me
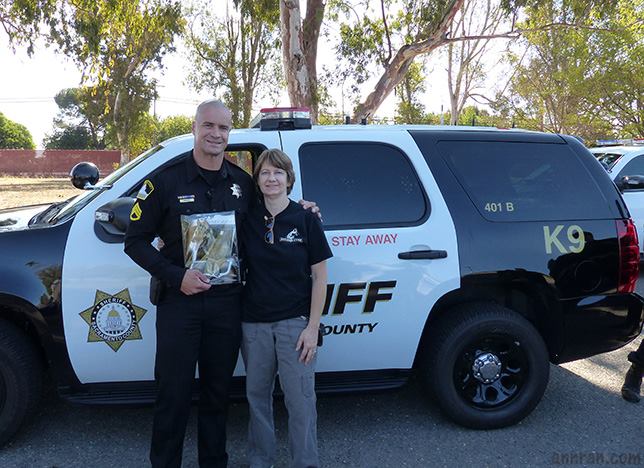 Deputy Gregory & Me
Deputy Gregory and me, with a print of the Ronin drawing. Deputy Gregory was Ronin's former handler. I took the reference photo for the drawing when he and Ronin were at a fund-raising event and wanted him to have a print of the drawing.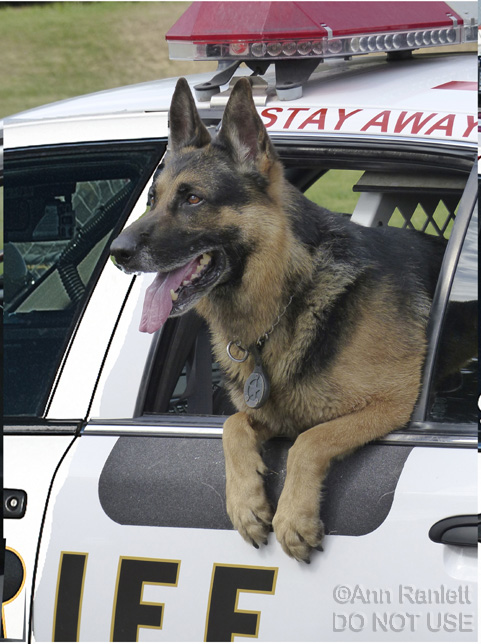 Ronin - Reference Photo
My reference photo of K9 Ronin - taken at an Sacramento Sheriff K9 Association event in 2014.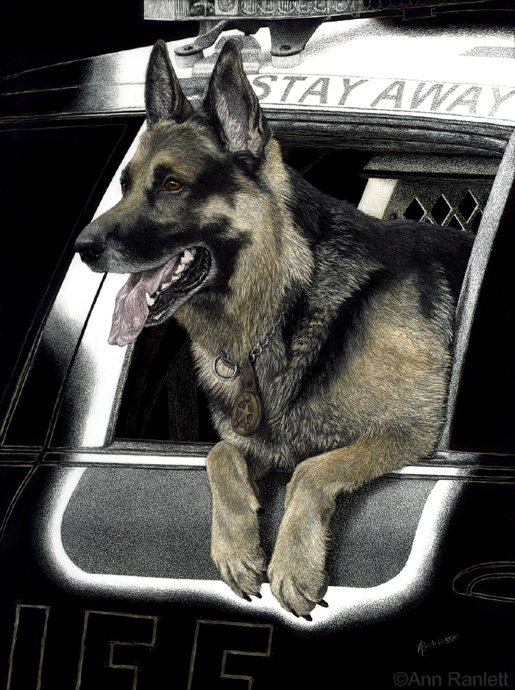 Ronin 9 - Final
Finished! Minor changes from the last version. There's a little bit more drawing on either side with this scan. I had been scanning with it flat on the scanner, but there's a lip that was cutting off a little from each side. This time I scanned in 2 parts so I could get every last bit of the drawing. "K9 Ronin", 9" x 12" scratchboard, colored with ink.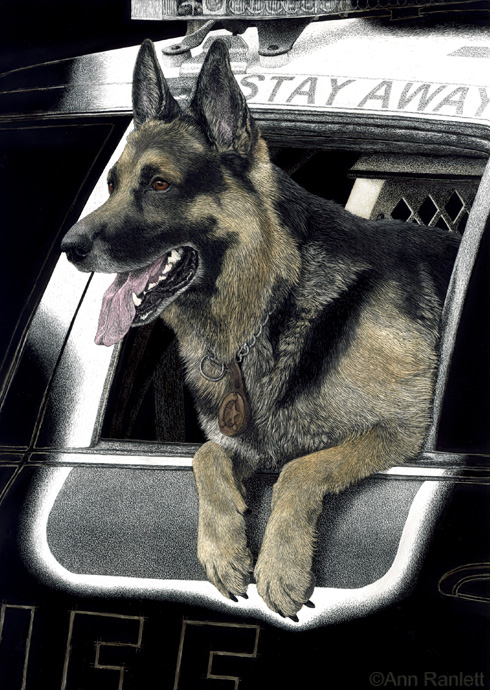 Ronin 8
Now with color! Not quite done, but in the home stretch - needs a little scratching to fine tune and add back some lights, and then probably one more pass with color. This is two layers of color. I prefer to go a little lighter than I want and layer than get the color on too dark and have to scratch more than I'd like.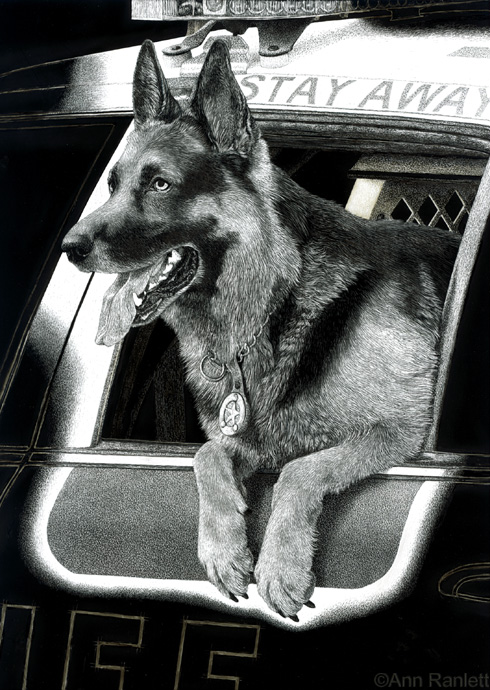 Ronin 7 - All Scratched
All scratched . . . ready for color!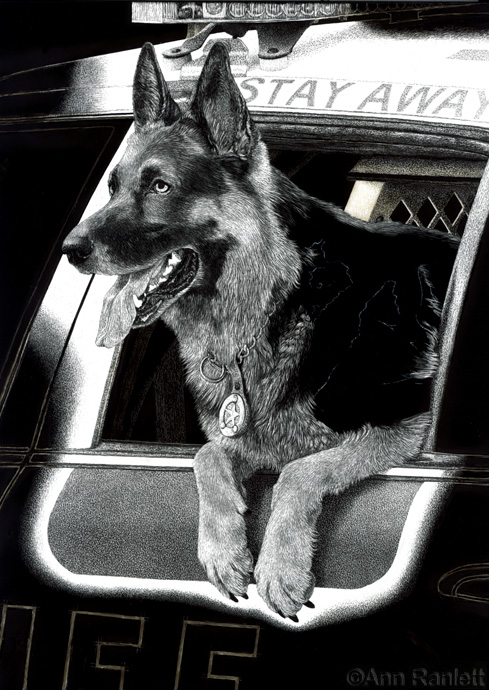 Ronin 6
On the downhill side of this 9 x 12 mountain! Obviously, I need to finish scratching his shoulder. I've intentionally over-scratched in the dark areas of his face; I'll go back in and re-ink/fine tune those parts after I get his shoulder scratched, and there are some shadowed parts of his fur that need re-inking. Even though I will color Ronin, I want the scratching to speak for itself - the color will kick it up a notch and separate him from the car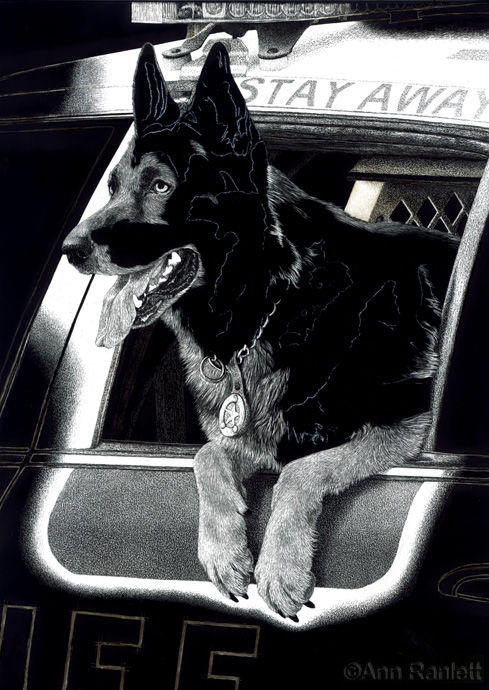 Ronin 5
The car is done, with a few tweaks to be made in the final stages of the drawing, after Ronin is finished. I'm happy with the progress on Ronin so far.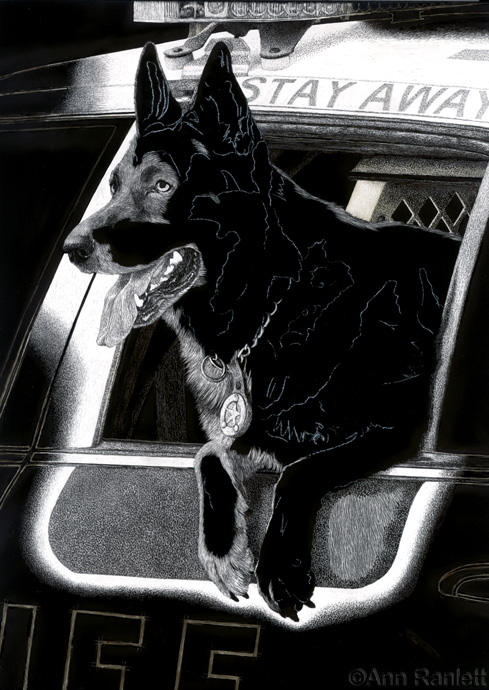 Ronin 4
The car is done, other than that part under Ronin's feet. The left side of it needs a little more blending, the right side needs more stippling and then blending.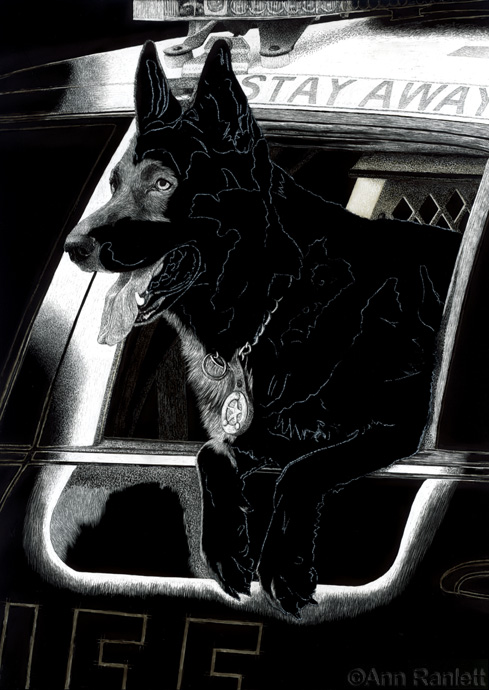 Ronin 3
Starting to scratch Ronin now. There are some areas of the car that still need work: the moulding at the top of the door, the window frame on the right, and that entire part under his feet, but the rest is done. I knocked back the linework in the negative space areas with a warm grey Pitt marker. It was too contrast-y before, I like it better now.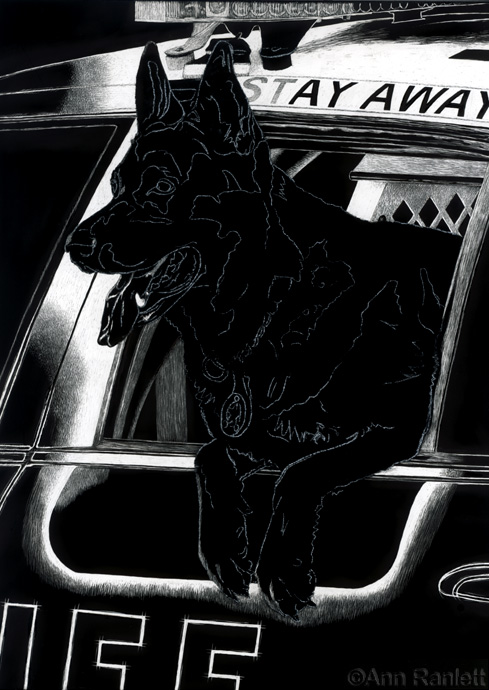 Ronin 2
More progress on the car. That "STAY AWAY" lettering took a while to get right, and I'm knocking it back with a tattoo needle. There's still a lot of "sketchy" stuff going on - just to block things in. That's the beauty of scratchboard, I can tidy all that up as I go along. There's plenty of blending work to do where the drawing shifts from positive to negative, and that section under his paws will take some time. And THEN I can start on Ronin! Since he's in front, I want to have all the underlying work done, so I can layer his fur on top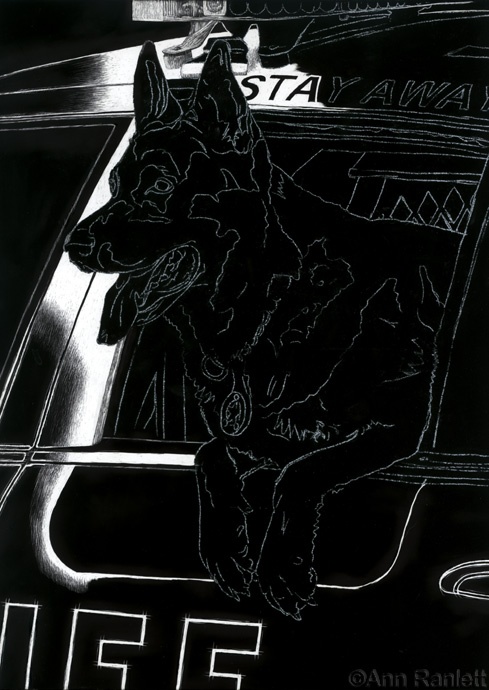 Ronin 1
Very early stages of this drawing . . . Ronin will be the easy part, that's why I started working on the car first. I wanted to figure that out before I started on Ronin. I'm going for a sketchy, "blueprint" effect for the line work that's outside of the full-render zone, with a transition between. Ronin will be in color, everything else will be black, white or grey.
